
Last updated November 21, 2026
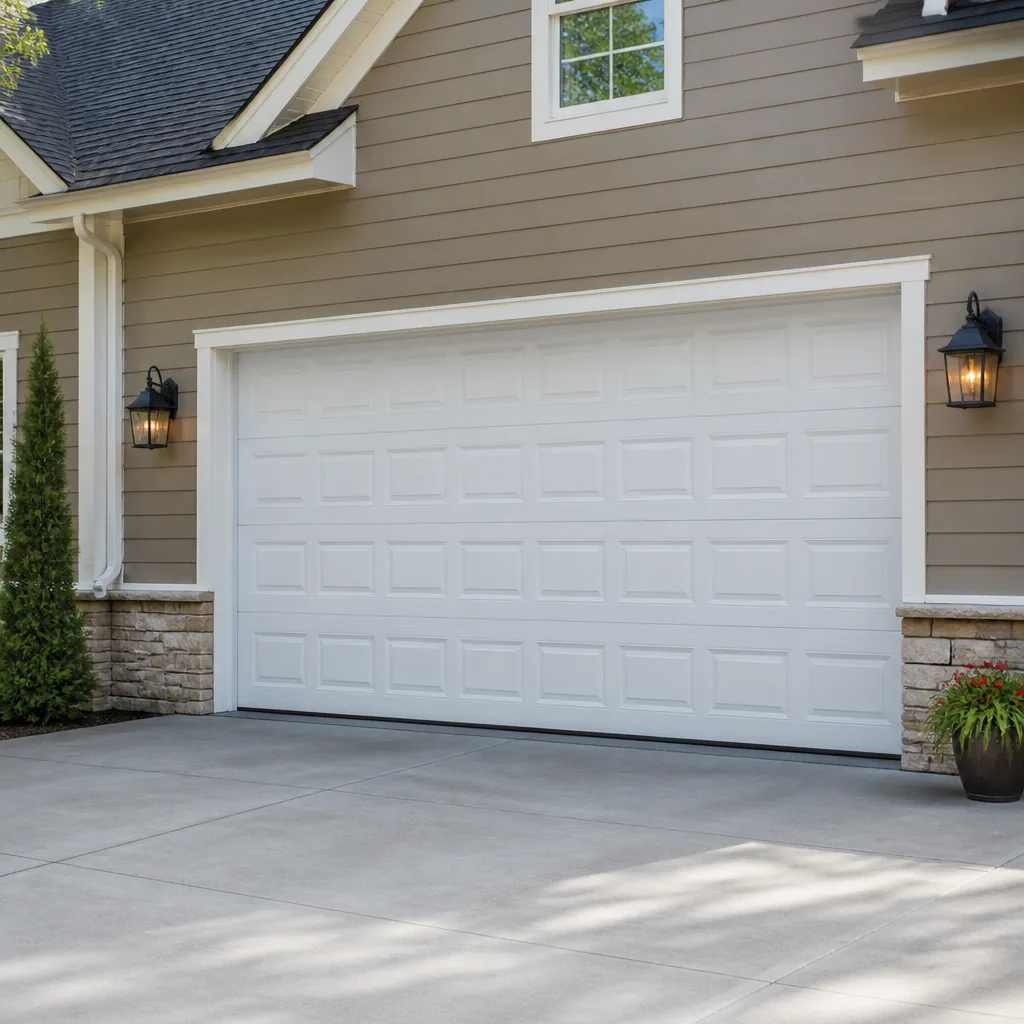 Raised-panel steel
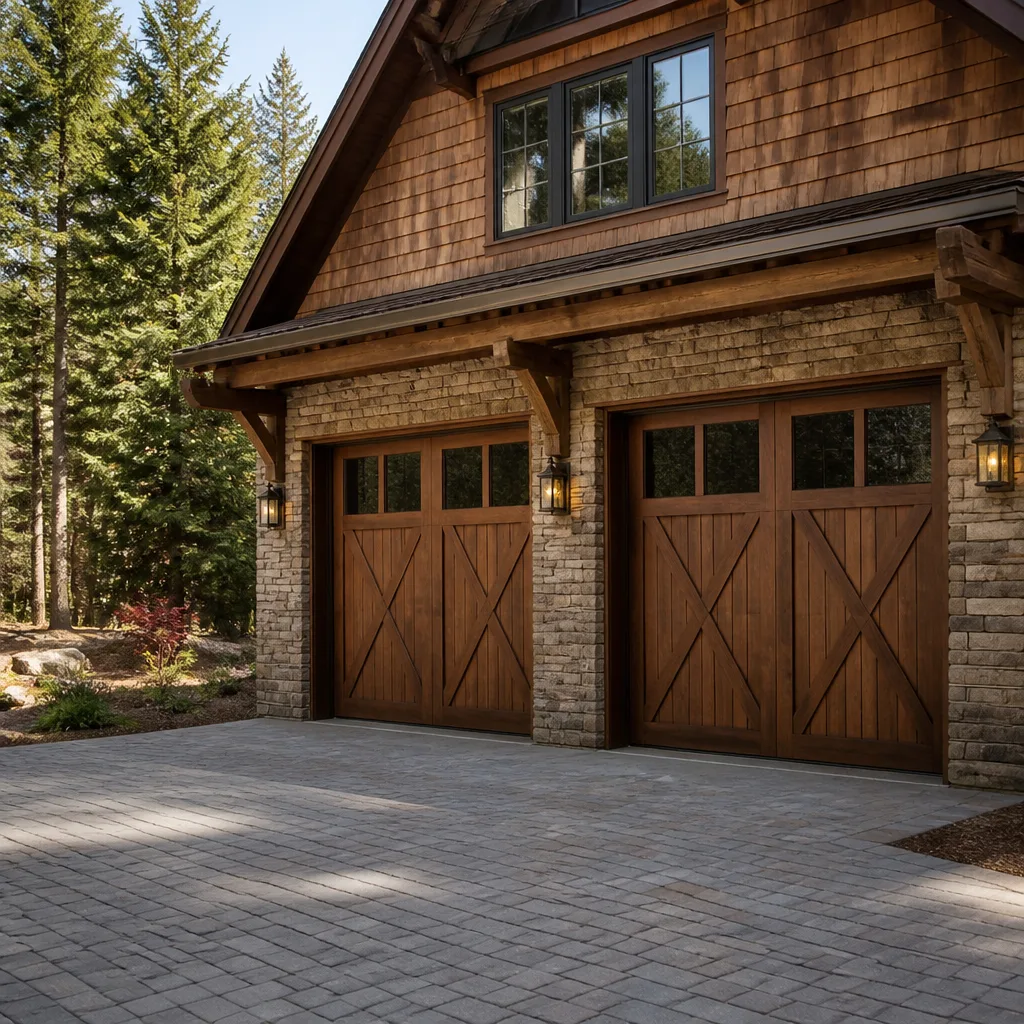 Carriage house
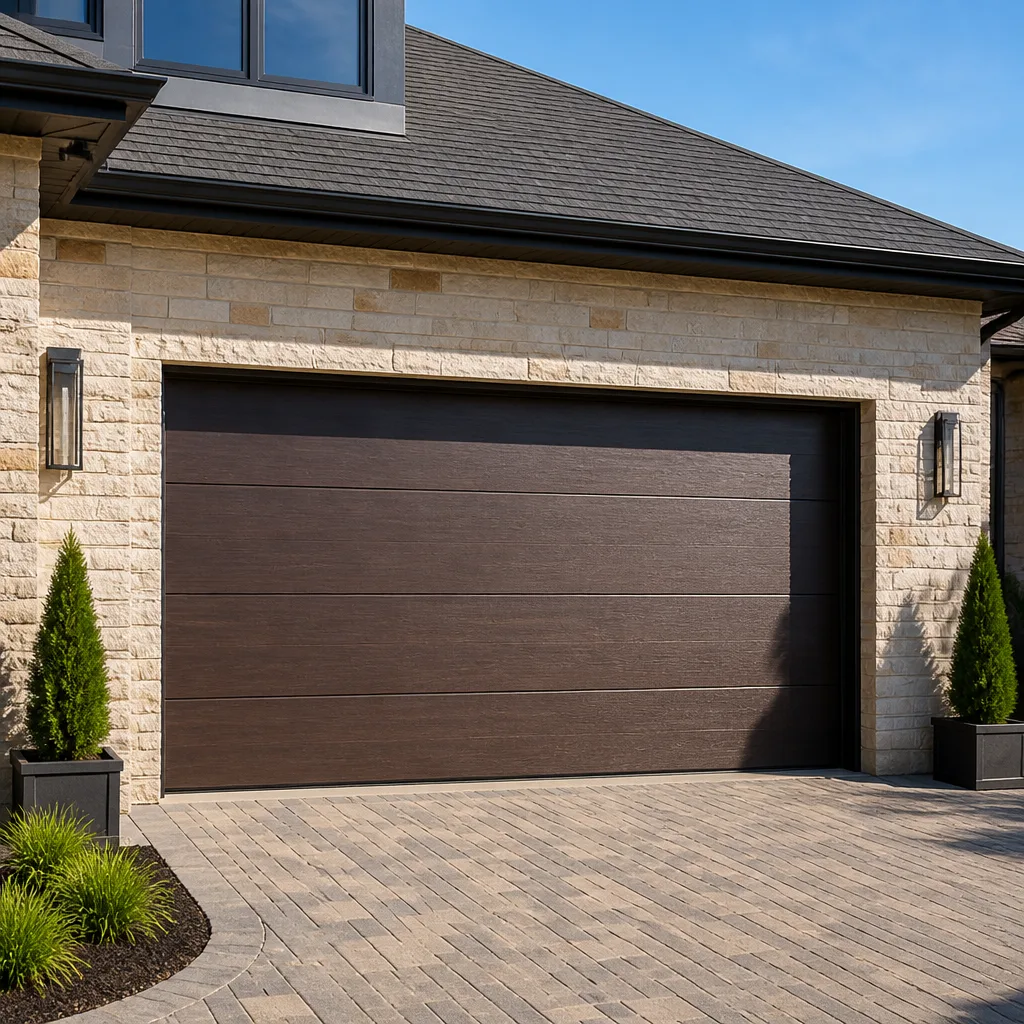 Modern flush
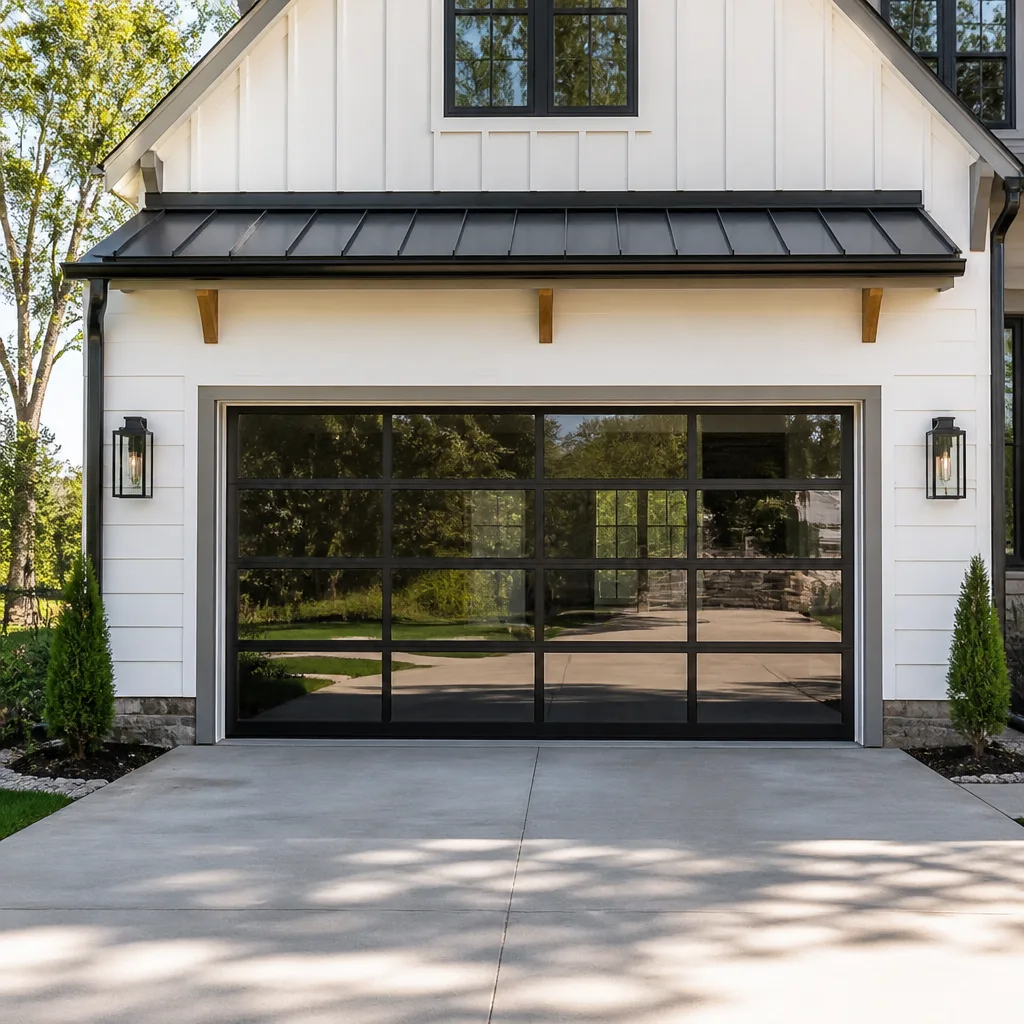 Full-view glass
 LiftMaster openers
 Chamberlain openers
Full 25-point door and opener safety check with every visit - springs, cables, rollers, tracks, and your LiftMaster or Chamberlain opener included
You get a price before we start. It does not change when the pro arrives.
Get your free estimateGarage Door Repair Maintenance Checklist for Gravesend Homeowners
The number-one cause of emergency garage door calls isn’t sudden failure. It’s a small problem that passed three maintenance checks because the homeowner didn’t know what “bad enough” looked like. A spring with a hairline gap, a cable with two frayed strands, a roller worn flat on one side: all of these look fine to someone who’s never seen the failure threshold. This guide gives you the thresholds. It’s the checklist we’d walk through on a door in Gravesend, built around how doors actually age here rather than a generic manufacturer insert, with a clear stop-and-call line at every step so you know when a look becomes a job for someone trained to handle it.
Quick Answer
A working maintenance checklist for a Gravesend garage door covers four checks: spring and cable condition against specific wear tolerances, a balance test to confirm tension, roller and hinge condition, and a weatherseal inspection tuned to freeze-thaw cycles. Run it twice a year. Anything that fails a threshold, especially a spring or cable concern, stops being a DIY item and becomes a call to a trained technician.
Styles & brands we work with
- Raised-panel steel
- Carriage house
- Modern flush
- Full-view glass
- LiftMaster openers
- Chamberlain openers
Table of Contents
- Why a Gravesend-Specific Checklist Matters
- Spring and Cable Checks: Wear Tolerances That Signal Replacement
- The Balance Test and What a 2-Inch Drift Means
- Roller, Hinge, and Hardware Inspection
- The Stainless and Coated Checkpoints: A Gravesend Add-On
- Weatherseal Inspection for Freeze-Thaw Cycles
- Opener and Safety-Sensor Testing
- The Stop-and-Call Decision Tree
Why a Gravesend-Specific Checklist Matters
A garage door ages differently depending on where it hangs. Gravesend’s freeze-thaw cycle through late fall and early spring is the biggest factor, and it affects different parts of the door in different ways. The weatherseal compresses and relaxes with the temperature swing. The bottom bracket takes on water and street grime off the driveway. Concrete slabs shift slightly with frost heave and settle back, which changes how the door sits and moves over time.
That’s before the street-level dirt. Homes close to the main roads around Gravesend get more grit kicked onto the driveway, and that grit works its way into hinges, rollers, and the track. National maintenance checklists written for a suburban Midwest door don’t account for any of it. They tell you to lubricate and inspect; they don’t tell you what to look for at each joint or what makes one joint worse than a scratch.
What makes this checklist different is the pass/fail threshold. Every task below names a specific condition that means “stop, this is done” rather than “check that it looks okay.” A homeowner who knows the thresholds can handle the safe tasks without worrying about whether they’re missing something. And they know exactly where a look becomes a call.
The rule this guide follows: you can safely inspect, clean, lubricate, and test. Anything involving spring tension, cable load, or the brackets that carry them is off the table. More on that below.
Spring and Cable Checks: Wear Tolerances That Signal Replacement
Look closely at this part. Never touch it. A torsion spring sits on the bar above the door and holds the door’s weight in compression; the two cables run through the spring and carry the load down both sides of the door. Together they take the force of every open and close and are the riskiest component of any door, which is why we treat spring and cable work in Gravesend as a specialist job rather than a general repair.
Here’s what to inspect, with the threshold for each:
- Spring: hairline gap. A clean spring is uniform. If you see a visible gap anywhere along the coil, even a hairline, that spring has entered the wear phase and is moving toward failure. Any gap means replacement, not lubrication.
- Spring: rust bloom. Surface rust on a closed-door spring is a warning sign. Pitting or flaking is a stop-and-call threshold. Rust concentrates stress at the point of corrosion and stress is what breaks springs.
- Cable: frayed strands. Any visible broken strand on a cable is a failure. A cable with one broken strand is on its way to the rest of the way. Do not continue using the door and do not try to “adjust” the cable.
- Cable: slack or off-pulley. If either cable is loose or has slipped off its pulley, the door is unsupported on that side. Stop using it and call.
- Cable: kinked or twisted. Any kink in a cable is a replacement cue. Kinks are where cables fail first.
If the door is open when you notice any of these, leave it open. If it’s closed, leave it closed. Don’t cycle it to “test.” We answer 24/7 for exactly this kind of call, and a trained technician will get eyes on it fast.
The Balance Test and What a 2-Inch Drift Means
A garage door should feel almost weightless when you lift it by hand from the handle, because the springs are doing the work. When they’re doing less work than they should, the door feels heavy. The balance test is how you measure it, and the 2-inch drift is the clearest signal short of a broken spring that the springs are losing tension.
Here’s how to run the test safely:
- Close the door fully. Disconnect the opener by pulling the manual release handle (usually the red cord).
- Lift the door by hand with one hand up to roughly waist height. It should feel manageable, not like you’re deadlifting a car.
- Let go. The door should stay roughly in place.
- If the door sags downward more than about 2 inches before stopping, or if it drops to the ground, the springs are not carrying the weight. That’s the drift.
- Reconnect the door to the opener only if the test passes. If it drifts, leave it disconnected and call.
What 2 inches actually means: springs don’t fail all at once. A torsion spring has a specific number of cycles before it gives out, and the balance test gives you a read on how much is left. A door that drifts slightly is telling you the springs are near the end. The exact remaining life depends on the spring and the door’s weight, which is a judgment call for a technician. The homeowner’s job is to detect the drift and stop cycling the door until someone qualified looks at it.
One more point. If a door drifts more than 2 inches, do not “help” it open by hand and do not re-engage the opener to force it. The extra force on the springs and cables is exactly what pushes a near-failure into a real one.
Roller, Hinge, and Hardware Inspection
The rollers and hinges are where a door tells you it’s working harder than it needs to. Worn rollers make the door loud. Seized hinges make it shudder. Both stress the opener and the springs, and both are detectable by eye and by ear.
Here’s what to check and the threshold for each:
- Rollers: flat spots and wobble. Steel rollers that have run dry develop flat spots and wobble. If a roller wobbles when you spin it by hand or shows a flat where the door rests against it, it’s done.
- Rollers: missing ball bearings. Any roller that rattles or sounds crunchy when you spin it has lost bearings. Replacement, not lubrication.
- Rollers: nylon versus steel. Nylon rollers run quieter and don’t need lubrication. Steel rollers need it. If you don’t know which you have, look at the color: white or gray usually means nylon, bare metal means steel.
- Hinges: loose fasteners. A hinge that rocks in its mounting holes, or a bolt you can turn by hand, is loose. Tighten to snug and walk away. Don’t over-torque; you’ll strip the wood or the thin metal on modern doors and create a bigger problem.
- Hinges: rust or grit. Surface rust on a hinge pin means the hinge is dragging. Grit packed into the hinge is the street-dirt issue we mentioned. Clean and lubricate with a proper garage door lubricant (white lithium or silicone, not WD-40, which attracts dust).
- Track: straightness and debris. The track should be straight and clean. A kink or a bend in the track needs to be straightened by a technician; don’t try to bend it back yourself, since the vertical track sets the door’s path and a bad bend can throw the door and bind the rollers.
These are safe tasks. Use a step stool if you need height, secure the door in the closed position before you touch anything, and keep hands away from the spring bar and the cable runs at all times.
The Stainless and Coated Checkpoints: A Gravesend Add-On
Most national maintenance checklists focus on the springs, rollers, and opener and skip the hardware that hangs onto the door itself. In Gravesend that hardware matters because of the local street grime and the freeze-thaw moisture that pools at joints and brackets. The fix is coated or stainless fasteners and brackets, and the inspection below is built around confirming they’re still doing their job.
Check these points each cycle:
- Bottom brackets. The brackets that hold the bottom roller and the cable down at each side are the lowest point on the door and take on the most grime and moisture. Look for rust bloom, bubbling finish, or any fastener that’s started to loosen. A stainless bracket should still be bright or evenly coated. Any deep pitting means the bracket is due for replacement.
- Hinges and their fasteners. Coated hinges should show no rust at the pin or the leaf. If a hinge’s finish has failed and rust is starting, clean it and plan to replace at the next maintenance window rather than waiting for the pin to seize.
- Track hardware. The bolts and spacers that hold the track to the jambs should be tight and rust-free. A spacer that’s started to rust through is a sign moisture is sitting there.
- Lift handles and lock hardware. If the door has a lift handle or a manual lock, the fastener points on these are a common first place for rust to show.
If the hardware came with the door, most manufacturers, including Clopay and Amarr, offer stainless or coated hardware as an upgrade. If you’re replacing a door, that’s worth asking about at the measure. It’s cheaper than replacing hardware later.
This isn’t a “do it yourself” hardware swap when the door is under spring tension. The bottom bracket carries the cable load. Cleaning and light lubrication are safe; a bracket swap is a technician job. Treat it that way.
Weatherseal Inspection for Freeze-Thaw Cycles
The weatherseal is the rubber strip at the bottom of the door and around the frame, and in Gravesend it’s the part of the door most exposed to the local climate. The freeze-thaw cycle works it hard: moisture gets into a hairline crack, freezes, expands, and opens the crack further. Over a few winters the seal that looked fine in September starts letting in water and air by February.
Here’s how to inspect it against the thresholds:
- Close the door and look at the bottom seal against the concrete from outside. There should be continuous contact. Any daylight gap, even a thin strip, is a pass/fail failure. That’s the seal allowing water and cold air into the garage.
- Run your hand along the bottom seal. It should feel flexible and springy. If it’s hard, cracked, or crumbles when you press it, it’s past its service life, and the next freeze-thaw will finish it.
- Check the side and top seal against the frame. The same test applies. Gaps at the corners are the most common freeze-thaw entry point because the corner is where the seal is compressed the most.
- Look at the seal’s surface for grit. Street grime stuck to the seal is a sign it’s collecting moisture. Clean it with a damp cloth and mild soap, not a petroleum-based product, which can dry out the rubber.
- Check the bottom of the door for a “smile” gap. If the door doesn’t sit level on the slab, there’s a smile-shaped gap at one end. This is a sign the door has shifted, which can be caused by frost heave or settled concrete. A gap that wide needs a technician, not a thicker seal.
A weatherseal that fails this test isn’t a door problem, but it’s a door-access problem. Water on the concrete slab under a closed door can freeze and lock the door to the slab. In the worst case the opener stalls trying to lift a frozen door and burns out. Replacing a weatherseal is a straightforward job and safe to schedule. On a door with a strong opener, the right seal and a proper fit also protect the opener’s motor and the door’s bottom section from ice damage.
Opener and Safety-Sensor Testing
The opener is the part of the system most likely to fail without warning, and it’s also the part that’s easiest to test safely. If you have a LiftMaster, Chamberlain, or Craftsman opener, the safety test below is the same for all of them. It’s a good thing to run after any maintenance that moves the door.
Run these tests in order:
- Safety reverse test. With the door open about waist-high, use the opener’s wall control to close it. As the door travels, wave a long board or a piece of 2×4 in the path of the safety beam (the small lens on each side of the door, near the floor). The door should reverse immediately. If it doesn’t, the safety sensors are misaligned or failing. Do not use the door until this is fixed.
- Force test. Open the door, then close it using the wall control. As it’s closing, press down on the door lightly with both hands. The door should reverse when it feels resistance. If it doesn’t, the opener’s force setting is too high.
- Safety sensors alignment. Look at the LED on each sensor. Most openers show a solid light when aligned and a blinking light when blocked or misaligned. If either is blinking, wipe the lenses clean of grime and check that the two are aimed at each other.
- Manual release. Pull the release cord and confirm the door moves freely by hand. Re-engage and test the opener.
- Wall control and remotes. Test every remote and the wall control. A remote that’s stopped working is usually a dead battery or a lost signal, not a failing opener. A wall control that’s stopped working is worth a service call.
If your opener is a smart or Wi-Fi-enabled unit, don’t skip a firmware or app check each cycle. LiftMaster and Chamberlain’s MyQ units, for example, occasionally need a re-pair after a router change. If the app has stopped reporting status, the sensor may be fine and the connection may not. Look at the manufacturer’s app before deciding the opener itself is failing.
What to do when a test fails: for a safety reverse or force test failure, stop using the door and call. The safety reverse is the system that keeps a person or a pet from being trapped under the door. It isn’t a “call when you get around to it” item.
The Stop-and-Call Decision Tree
The hardest part of any maintenance checklist is knowing where helpful ends and dangerous begins. Here’s the decision tree we use, in plain terms. The first rule is the one that matters most: if it’s on this list and it’s a stop, it stops.
Stop and call immediately if:
- A spring shows any gap or rust bloom.
- A cable is frayed, slack, kinked, or off its pulley.
- The door will not lift by hand, or the balance test drift is more than 2 inches.
- The door is off its track, partially down, or visibly tilted.
- The safety reverse test fails.
Schedule a call within a few days if:
- A roller wobbles or rattles.
- A hinge is loose (after you’ve snugged it once).
- The weatherseal fails the gap or flexibility test.
- The opener reverses inconsistently or a wall control has stopped responding.
Safe to handle yourself:
- Cleaning and lubricating rollers, hinges, and tracks.
- Cleaning the weatherseal and safety sensor lenses.
- Tightening a hinge fastener to snug, once.
- Replacing batteries in remotes.
- Visually inspecting everything on this list, without touching.
The point of the tree is that your confidence should never cross into spring, cable, or track work. That’s not a skill question. It’s a physics question. A torsion spring under load stores enough energy to do real harm in an instant, and a trained technician has the tools, technique, and space to handle it safely. A quick visual and the balance test tell you when a professional is needed.
Our technicians have up to 11 years of experience, and we work on garage door repair every day, so we’ve seen what a “small problem” looks like when it becomes a broken door. If your inspection turns up a stop-and-call item, we’d rather hear from you five minutes early than after the door hits the floor.
Common Mistakes to Avoid
- Lubricating a spring instead of checking it. Lubricating a spring that’s already showing a gap or rust can make it look fine and encourage you to keep cycling it. Springs are inspected, not lubricated, and a visible gap means replacement, not a service.
- Calling a 2-inch drift “normal.” A door that drifts to the floor isn’t just a little slow; it’s telling you the springs are near the end. In Gravesend, that’s the call you make before the spring breaks, not after.
- Using the opener to test a door that’s already off. If the balance test fails, don’t push the door open with the opener. The extra force on a near-failing spring or cable is exactly what turns a repair into a replacement.
- Ignoring the bottom weatherseal in late fall. Freeze-thaw turns a small seal gap into ice under the door by winter. The seal is the cheapest thing on this list to fix, and the most expensive to skip.
- Bending the track back into shape. A kinked track looks fixable from the outside, but the track sets the door’s path. A bad “fix” throws the door, binds the rollers, and stresses the springs.
- Skipping the safety reverse test after maintenance. Any time you’ve cleaned, tightened, or adjusted something near the door or its sensors, rerun the safety reverse test. It takes ten seconds and it’s the test that matters most.
- Trying to save on a spring replacement by using a general handyman. Springs are the most injury-prone part of the system. A garage door specialist’s training and tools are exactly what the job requires, and a dedicated team is the right call even when the generalist neighbors are cheaper.
See the difference
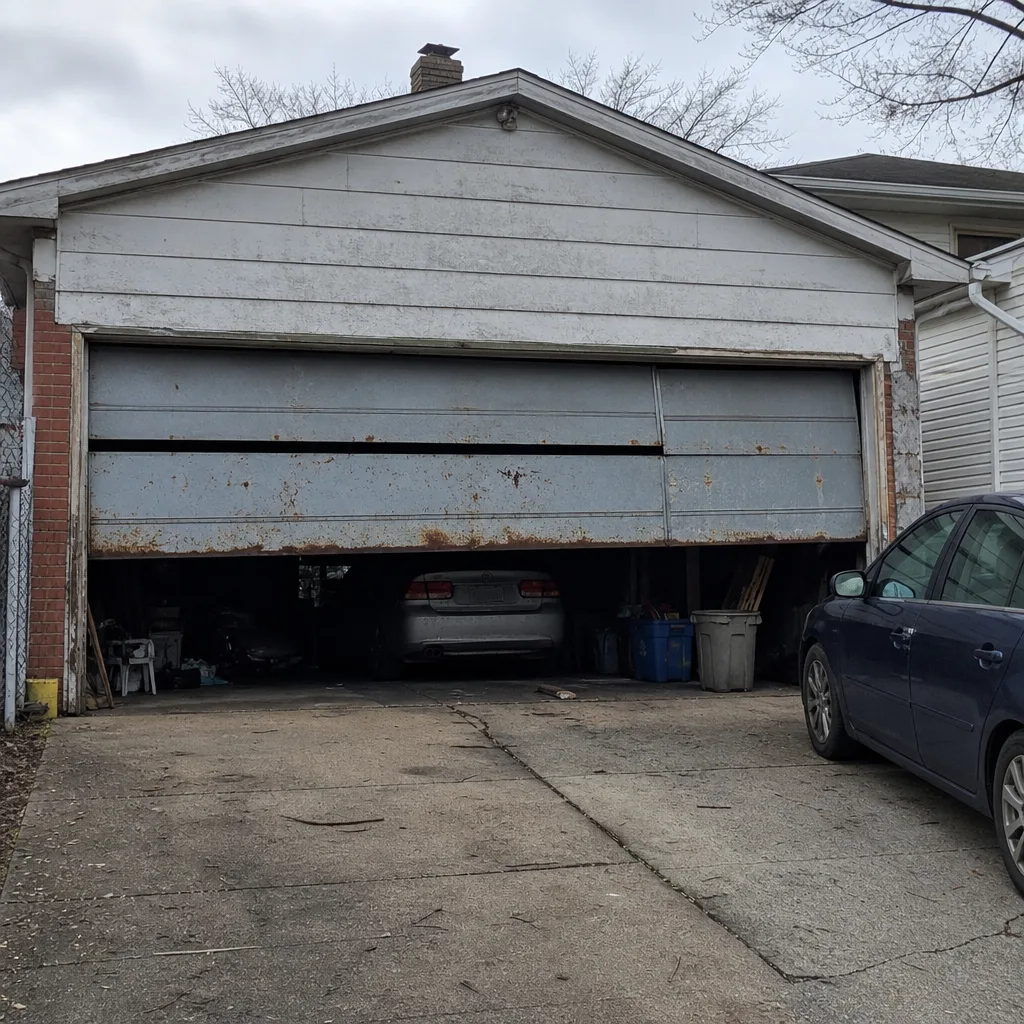 Before
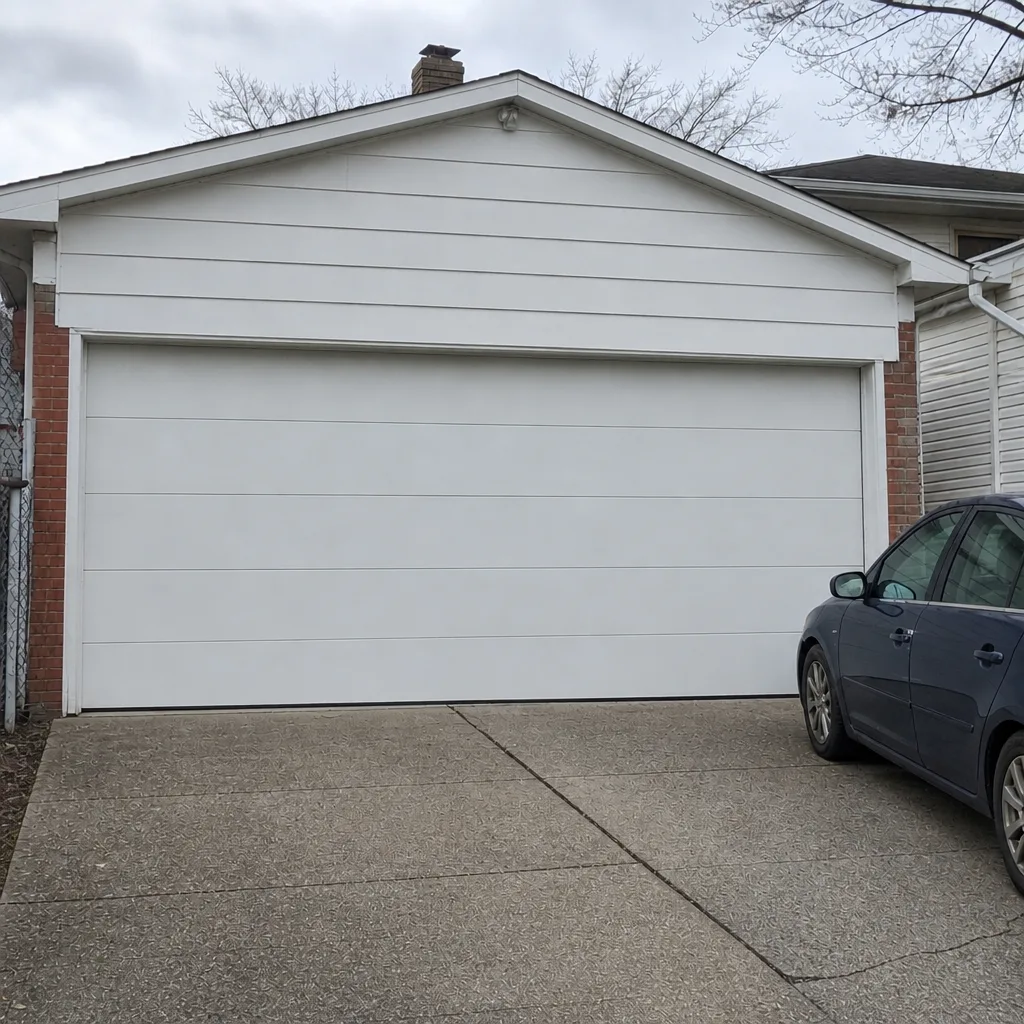 After
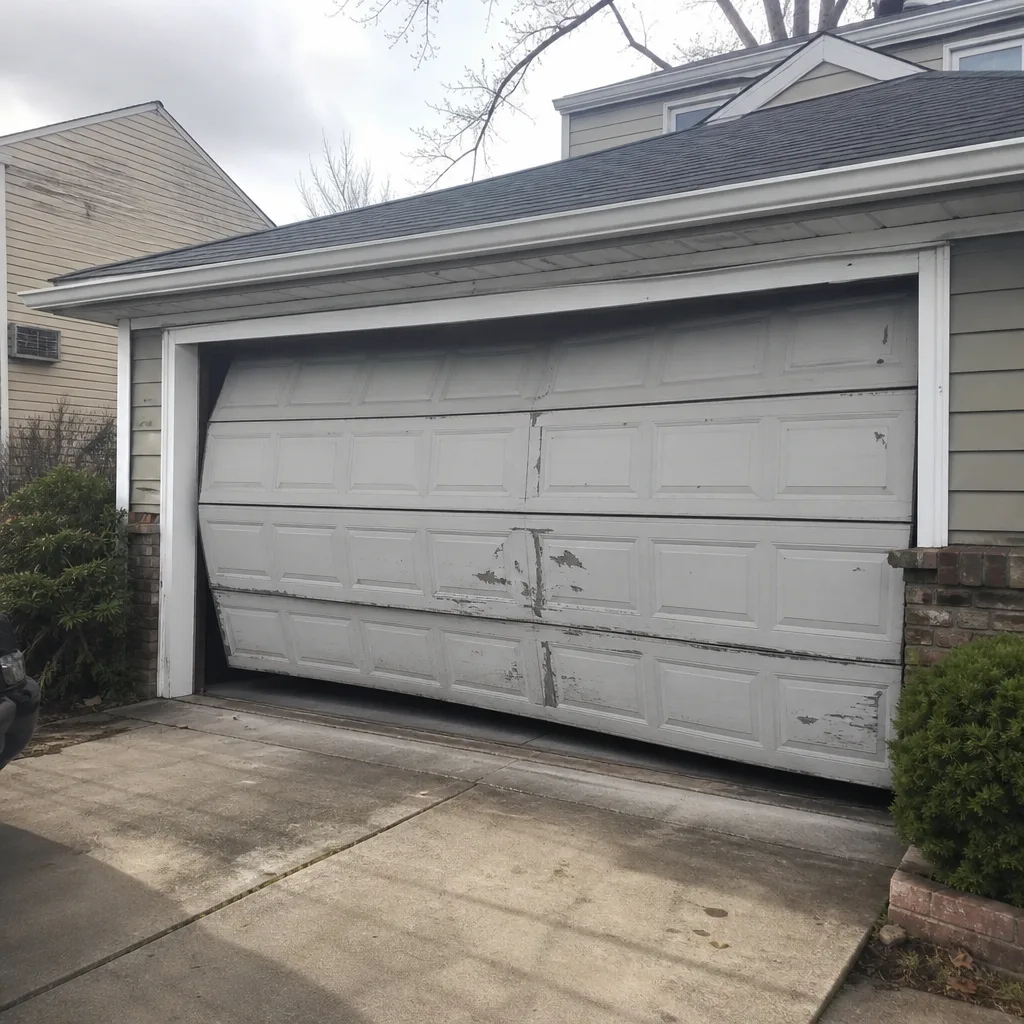 Before
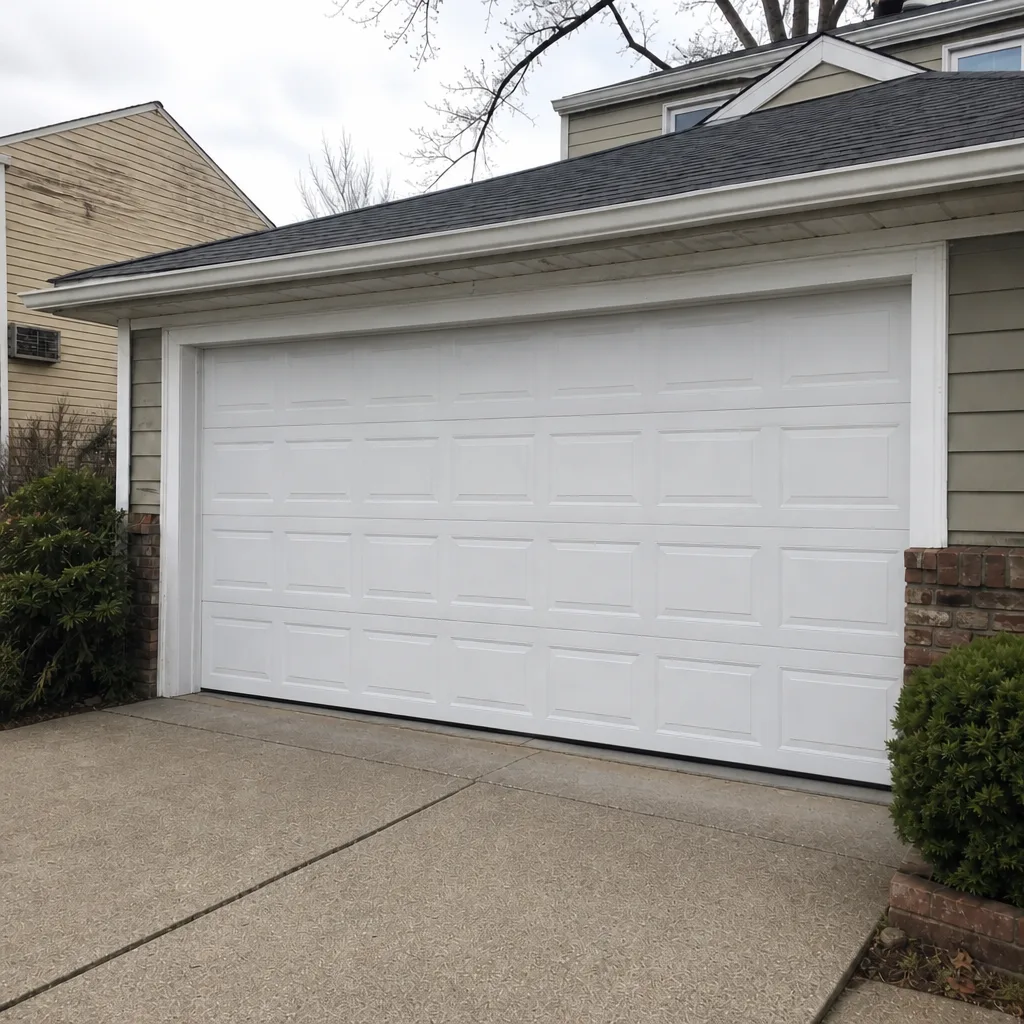 After
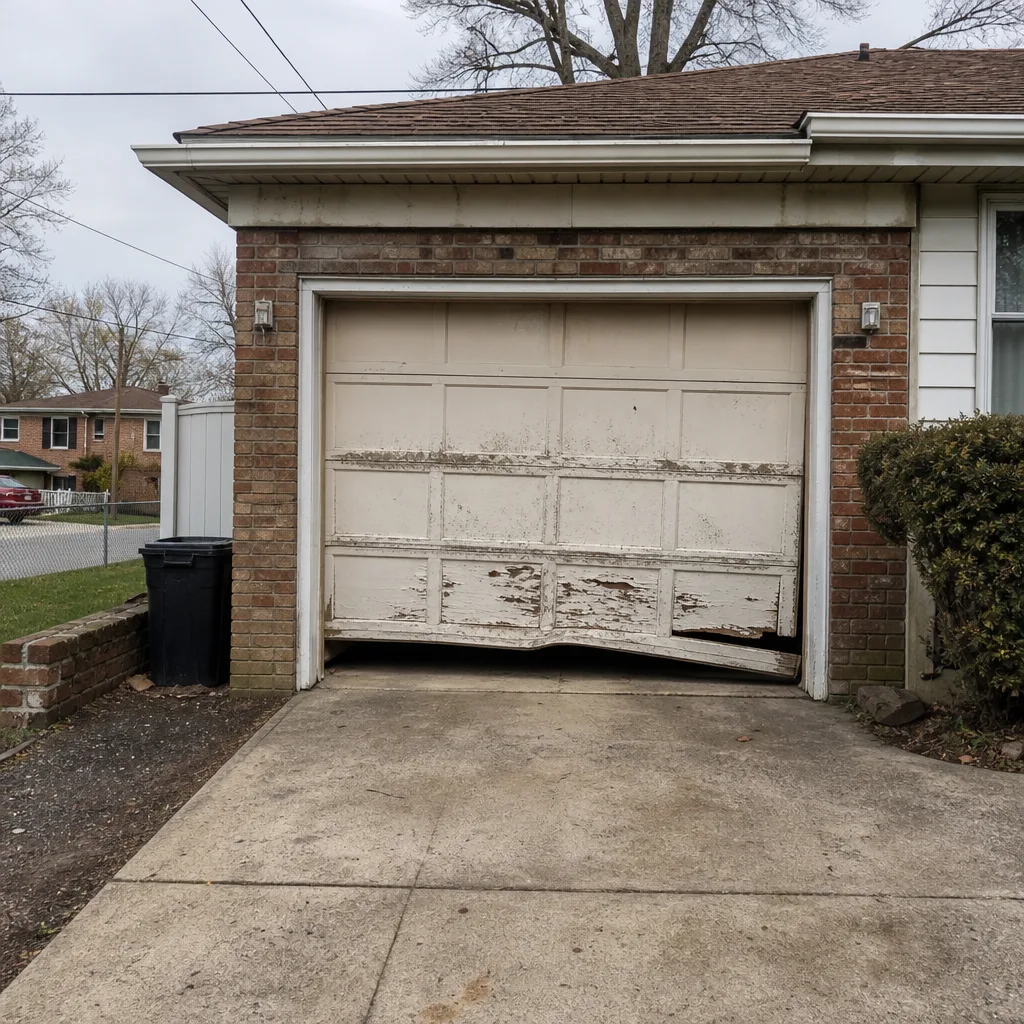 Before
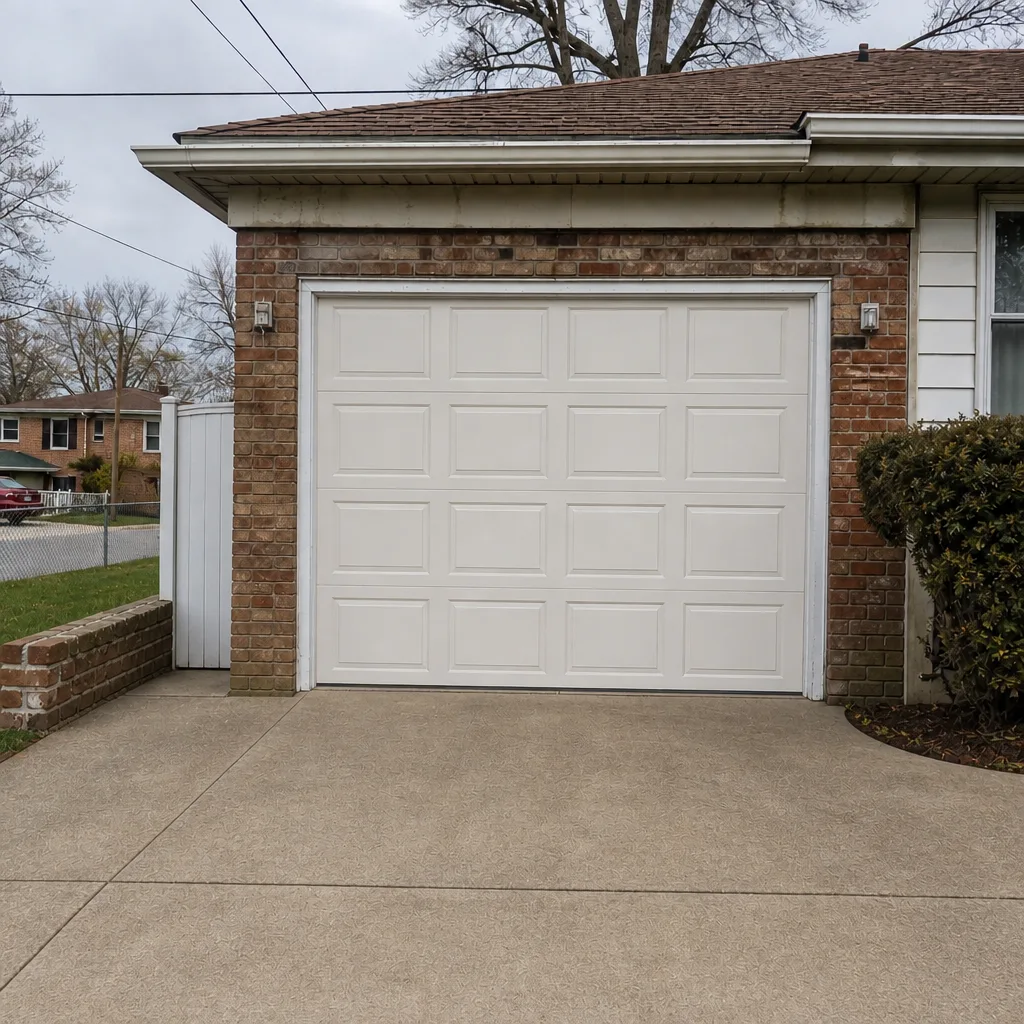 After
When to Call a Professional
Call a professional the moment any stop-and-call item shows up: a gap in a spring, a frayed or slack cable, a door that won’t lift by hand, a door off its track, or a safety reverse that fails. Don’t cycle the door to check “how bad” it is. Also call when a repair job crosses from inspection into adjustment: track straightening, bracket replacement, spring replacement, and opener force or sensor recalibration all need the right tools and training. And call when a seasonal inspection keeps turning up the same small problem twice. Repeat problems tend to be the early warning of a larger failure, and catching it at the second inspection is cheaper than catching it after. Garage Door Repair Gravesend offers free estimates in Gravesend, and we’ll tell you honestly whether a part is at the threshold or still has life left.
Frequently Asked Questions
Twice a year, once in the fall before freeze-thaw starts and once in the spring after it ends. The fall inspection catches weatherseal and hardware issues before the hard freeze; the spring inspection catches anything the winter shifted. If your door is over a decade old or gets heavy daily use, a third mid-cycle look at the springs and cables is worth it. The full checklist takes about 20 minutes.
Spring replacement is priced per spring and depends on the door’s weight and the spring type, so the written estimate from a technician who’s inspected the door is the number that applies. Springs are almost always replaced in matched pairs because a new spring paired with an old one wears unevenly. Call (855) 956-4130 for a free estimate on your specific door.
No, and not because of skill. A torsion spring under load stores a large amount of energy, and the tools and technique to release it safely are why spring replacement is a specialist job. A spring that slips during a DIY replacement can cause serious injury. If you spot a spring at its threshold, stop using the door and call a technician. Call (855) 956-4130 to book a spring inspection.
A drift of more than 2 inches means the springs aren’t carrying the door’s full weight and their tension is dropping. A small drift within the range is normal; a large drift is a signal that spring replacement is due. Don’t force the door open with the opener. Call (855) 956-4130 and we’ll send a technician out to check the balance.
No. The price is quoted and agreed before any work starts, and the written estimate sets the final price. If the technician finds something the estimate didn’t cover, that work gets a separate quote you approve first. Nothing gets added to the bill without your okay.
The roller and hinge type depends on the door’s make and its track style. If your door is a Clopay, Amarr, Wayne Dalton, or Raynor, the technician can match the right parts on the first visit. Bring the door’s model number to the call if you have it; if not, the technician can identify it from the hardware on the door. Call (855) 956-4130 and we’ll let you know what’s needed.
The Bottom Line
A maintenance checklist that uses pass/fail thresholds will save you more than one that just says “inspect.” Look at the springs for gaps, the cables for frayed strands, and the door for drift. If the drift is more than 2 inches, stop and call. Check the weatherseal before the freeze and the safety reverse after any adjustment. Clean and lubricate the rollers, hinges, and tracks, and leave spring and cable work to a trained technician. The goal isn’t to handle everything yourself. It’s to know exactly when a look becomes a call, and to make that call before the door gives out rather than after.
If your inspection turns up a stop-and-call item, or if you’d rather have a trained eye run the checklist on your door, call (855) 956-4130 for a free estimate. We answer 24/7. Fast dispatch from 7am to 7pm, Sunday through Friday. Our technicians work on LiftMaster, Chamberlain, Genie, Clopay, Amarr, Wayne Dalton, Craftsman, and Raynor equipment, so they’ll already know your brand before they arrive. We also handle garage door opener repair and garage door installation if your inspection turns up an opener or door that’s past its service life.
Written by the team at Garage Door Repair Gravesend.